

Choosing the Right Processes for Plastic Prototype Manufacturing
Plastic prototype manufacturing is a cornerstone of modern product development. It allows engineers and designers to validate form, fit, and function before committing to expensive tooling. Whether you are developing a consumer electronics enclosure, a medical device housing, or an automotive component, choosing the right plastic prototyping process can dramatically reduce lead times and development costs. This article provides a professional overview of the main plastic prototype manufacturing methods, material selection guidance, and practical tips for optimizing your prototyping workflow.
Why Plastic Prototyping Matters
Prototypes serve multiple purposes: they confirm design intent, test assembly tolerances, support investor demonstrations, and provide functional samples for testing. In plastic part development, the prototype stage often determines whether a design moves smoothly into production or requires costly revisions. Effective plastic prototype manufacturing bridges the gap between CAD models and production-ready parts, giving teams real physical samples to evaluate.
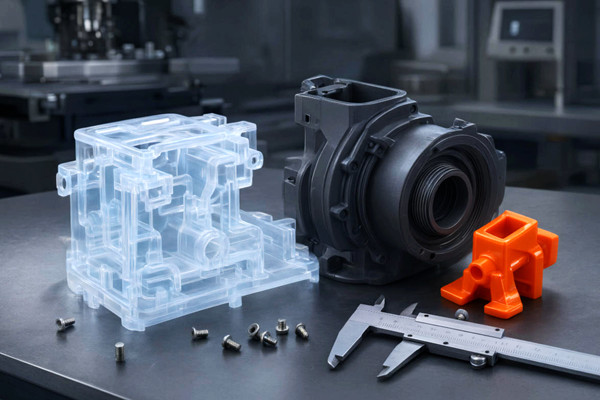
Core Plastic Prototyping Processes
CNC Machining of Plastics
CNC machining remains one of the most versatile methods for plastic prototype manufacturing. Engineers machine parts directly from solid plastic stock, achieving tight tolerances and excellent surface finishes. This process is ideal for functional prototypes, large parts, and designs that require uniform material properties. Common machined plastics include ABS, polycarbonate, acrylic, POM (Delrin), and PEEK. CNC prototyping is particularly valuable when you need isotropic strength, since machined parts do not exhibit the layer-direction weakness associated with 3D printing.
3D Printing (Additive Manufacturing)
Additive manufacturing has transformed rapid plastic prototyping. FDM (fused deposition modeling) offers cost-effective prototypes in materials such as PLA, ABS, PETG, and nylon. SLA and DLP resin printing deliver high-detail parts with smooth surfaces, suitable for appearance models and intricate geometries. SLS and MJF (multi jet fusion) produce durable, functional nylon prototypes without visible layer lines. For plastic prototype manufacturing, 3D printing excels at complex geometries, internal channels, and rapid design iterations.
Vacuum Casting and Urethane Casting
Vacuum casting, also called urethane casting, uses silicone molds to produce small batches of plastic prototypes. A master pattern—often 3D printed or CNC machined—is used to create the silicone mold, which can then cast 20 to 50 parts in polyurethane resins that mimic ABS, PP, PC, and rubber-like materials. This method is excellent for bridge production, overmolding prototypes, and color-matched appearance models. It offers better surface quality and material flexibility than many 3D printing options at low volumes.
Injection Molding for Prototypes
Prototype injection molding uses aluminum or modular steel tooling to produce parts in the final production material. While more expensive upfront than additive or casting methods, it validates moldability, shrinkage, and assembly before full-scale production. For projects requiring hundreds to thousands of prototype parts, rapid injection molding can be cost-effective and provides the most accurate representation of the final molded part.
Material Selection for Plastic Prototypes
Choosing the right plastic depends on the prototype's purpose. Appearance models benefit from acrylic, polished ABS, or cast urethane with color matching. Functional prototypes often require engineering plastics such as polycarbonate for impact resistance, nylon for wear resistance, or POM for dimensional stability. When chemical resistance or high-temperature performance is needed, PEEK and PEI (Ultem) are common choices. Designers should also consider the intended production material and select a prototyping process that approximates its mechanical behavior.
Design and Process Best Practices
Successful plastic prototype manufacturing starts with design for manufacturability (DFM). Keep wall thickness uniform, avoid sharp internal corners, and account for draft angles if the prototype will inform mold design. When using 3D printing, orient parts to minimize support material on critical surfaces. For CNC machining, design fixtures and tolerances early to avoid rework. Communicate the prototype's function clearly to your manufacturing partner—whether it is a visual aid, a fit-check part, or a functional test sample—so the process and finish are matched to the application.
Conclusion
Plastic prototype manufacturing combines a diverse set of processes—CNC machining, 3D printing, vacuum casting, and rapid injection molding—each suited to different stages of product development. By matching the prototyping method to the part's function, material requirements, and quantity, teams can accelerate validation, reduce risk, and move confidently toward production. Investing time in DFM review and clear communication with prototyping suppliers ensures that every plastic prototype delivers maximum value in the development cycle.




